Marine Outfitters
VENOM = Clean Waterline !
Save on Shipping
Currency: Canadian Pricing American Pricing


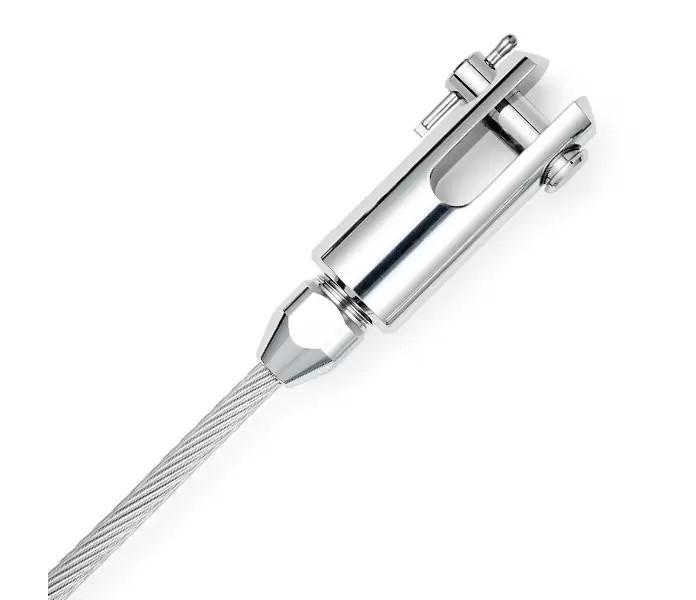
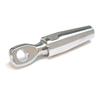
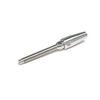
Sta-Lok Fork Terminals

Sta-Lok Self Fit Terminal, the reusable alternative to swage. Easy to install. Only basic hand tools required. No premeasurement needed. Guaranteed stronger than wire rope. High strength 316 Stainless steel. Rust Free. For right hand and left hand lay wire rope.

Usually Stocked Items normally ship immediately or in 1-2 business days. These items are returnable subject to our RETURN POLICY
Quick Access Items normally ship in 1-2 business days. Quick Access Items are returnable subject to our RETURN POLICY but with a restocking fee.
Special Order Items normally need a little extra time to be brought in from our suppliers � in some cases up to 7 business days. Special Orders are returnable subject to our RETURN POLICY but with a restocking fee.
Request Items may take a few days to obtain from our suppliers and pricing may need to be updated. Marine Outfitters will contact you to provide an approximate delivery date and confirmation of price. Request items cannot be returned!
 
Item / Price
Stock Type
Inventory On Hand 04/29 @ 09:40 PM
Product Code
Order Quantity
3/8" Wire with 5/8" Pin - #134-10
$215.57
Quick Access
ST 134-10
9/32" Wire - #134-07
$131.04
Special Order Item
ST 134-07
1/4" Wire with 7/16" Pin - #134-06
$117.75
Quick Access
6725180004351
7/32" Wire - 7/16" Pin - #134-55
$117.75
Quick Access
6725180004467
3/16" Wire with 5/16" Pin - #134-05
$85.46
Quick Access
2
6725180004344
5/32" Wire with 1/4" Pin - #034-04
$75.96
Quick Access
3
6725180000193
1/8" Wire - 3/16" Pin - #034-03
$65.52
Quick Access
1
ST 034-03


CUSTOM: stalok-fork-terminals


Currency: Canadian Pricing American Pricing


Swageless Fittings


Sta-Lok terminals can be fitted on site using simple hand tools. Exact-length accuracy can be achieved without pre-measurement or calculation.

The tools you need are:

• Life Calk.
• Paper towels.
• 2 adjustable wrenches.
• Fine tooth hack saw blade.
• Loctite #242 Blue or #241 Blue or Loctite #277 Red

1. CUT THE WIRE

If you are using a hacksaw, a new quality blade is highly recommended.

You want the cut to be square without protruding wires.


2. UNRAVEL THE WIRE

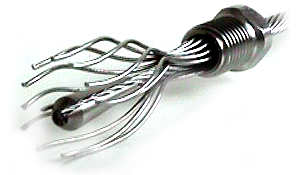
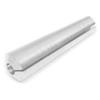
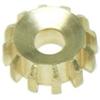
Slide the end over the wire and then unravel the outer strands (one strand at a time) 2-3 inches exposing the center core and slide the wedge over the center core.

Your wire should look like the photo to the right.

3. REPOSITION THE OUTER STRANDS

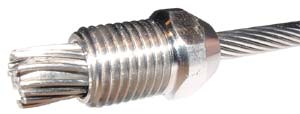
Twist the wire so that it reforms around the wedge. Insure that the strands protrude 1/8 inch (2-3mm) from the eye of the wedge.

4. PUSH THE SOCKET OVER THE WIRE

Individual wires should not over lap! Make sure the wires are evenly arranged around the wedge.
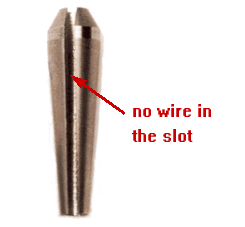
Before you push make sure the strands are evenly spaced around the wedge. Do not let a strand slip into the wedge slot of the wedge.

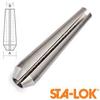
7x19 wedge
1x19 wedge

Tip: Push the fitting towards the end of the wire while repositioning the wire.

Important Tip: Put a couple of drops of Loctite on the starting threads when first assembling the terminal. This Loctite will act as a lubricant and will insure that the threads will not gall. This Loctite will also insure that the terminal will not loosen after the final assembly. The Loctite will not setup until the terminal is closed as it is anaerobic. (Only sets up in the absence of air.)

5. THE FORMING PROCESS

The initial forming process begins when you begin screwing the parts together.

Remember, do not over tighten and, when you begin to bottom out... Stop!

Unscrew the fitting and check to make sure the wires are evenly formed around the wedge. The wires should be evenly arranged, not overlapping and the slot must not have a trapped wire. If you see a wire inside the slot, pry it out.

The wedge must compress. Consequently, the slot must be clear for tightening.
If the wires have been cut squarely, the wire will form perfectly!

6. THE FINAL ASSEMBLY

Fill the cavity of the terminal's body about ½ full of Boat Life and place a few drops of the Loctite on the threads. Reassemble the fitting and tighten to the point of bottoming out.

Do not over tighten!

Over-tightening will damage the threads and wire. Over-tightening may render the terminal impossible to reuse at a later date.

RIGGER NOTES

1. The Loctite secures the fitting.
2. Wipe off any excess Loctite and caulking and the project is finished!
3. Some threads will remain visible. The fitting is designed to accept a range of wires sizes with the use of an appropriate wedge.